You have a photo. You need it to move.
The product shot is perfect. The hero image is stunning. But the campaign needs video. Re-shooting as video means starting over. What if the photo could simply… come alive?
The Hack: The Photo-to-Film
Fine-tune the details.
Adjust settings, add context, or refine your prompt. Image-to-Video gives you control without complexity.
The Walkthrough
Fine-tune the details.
Adjust settings, add context, or refine your prompt. Image-to-Video gives you control without complexity.
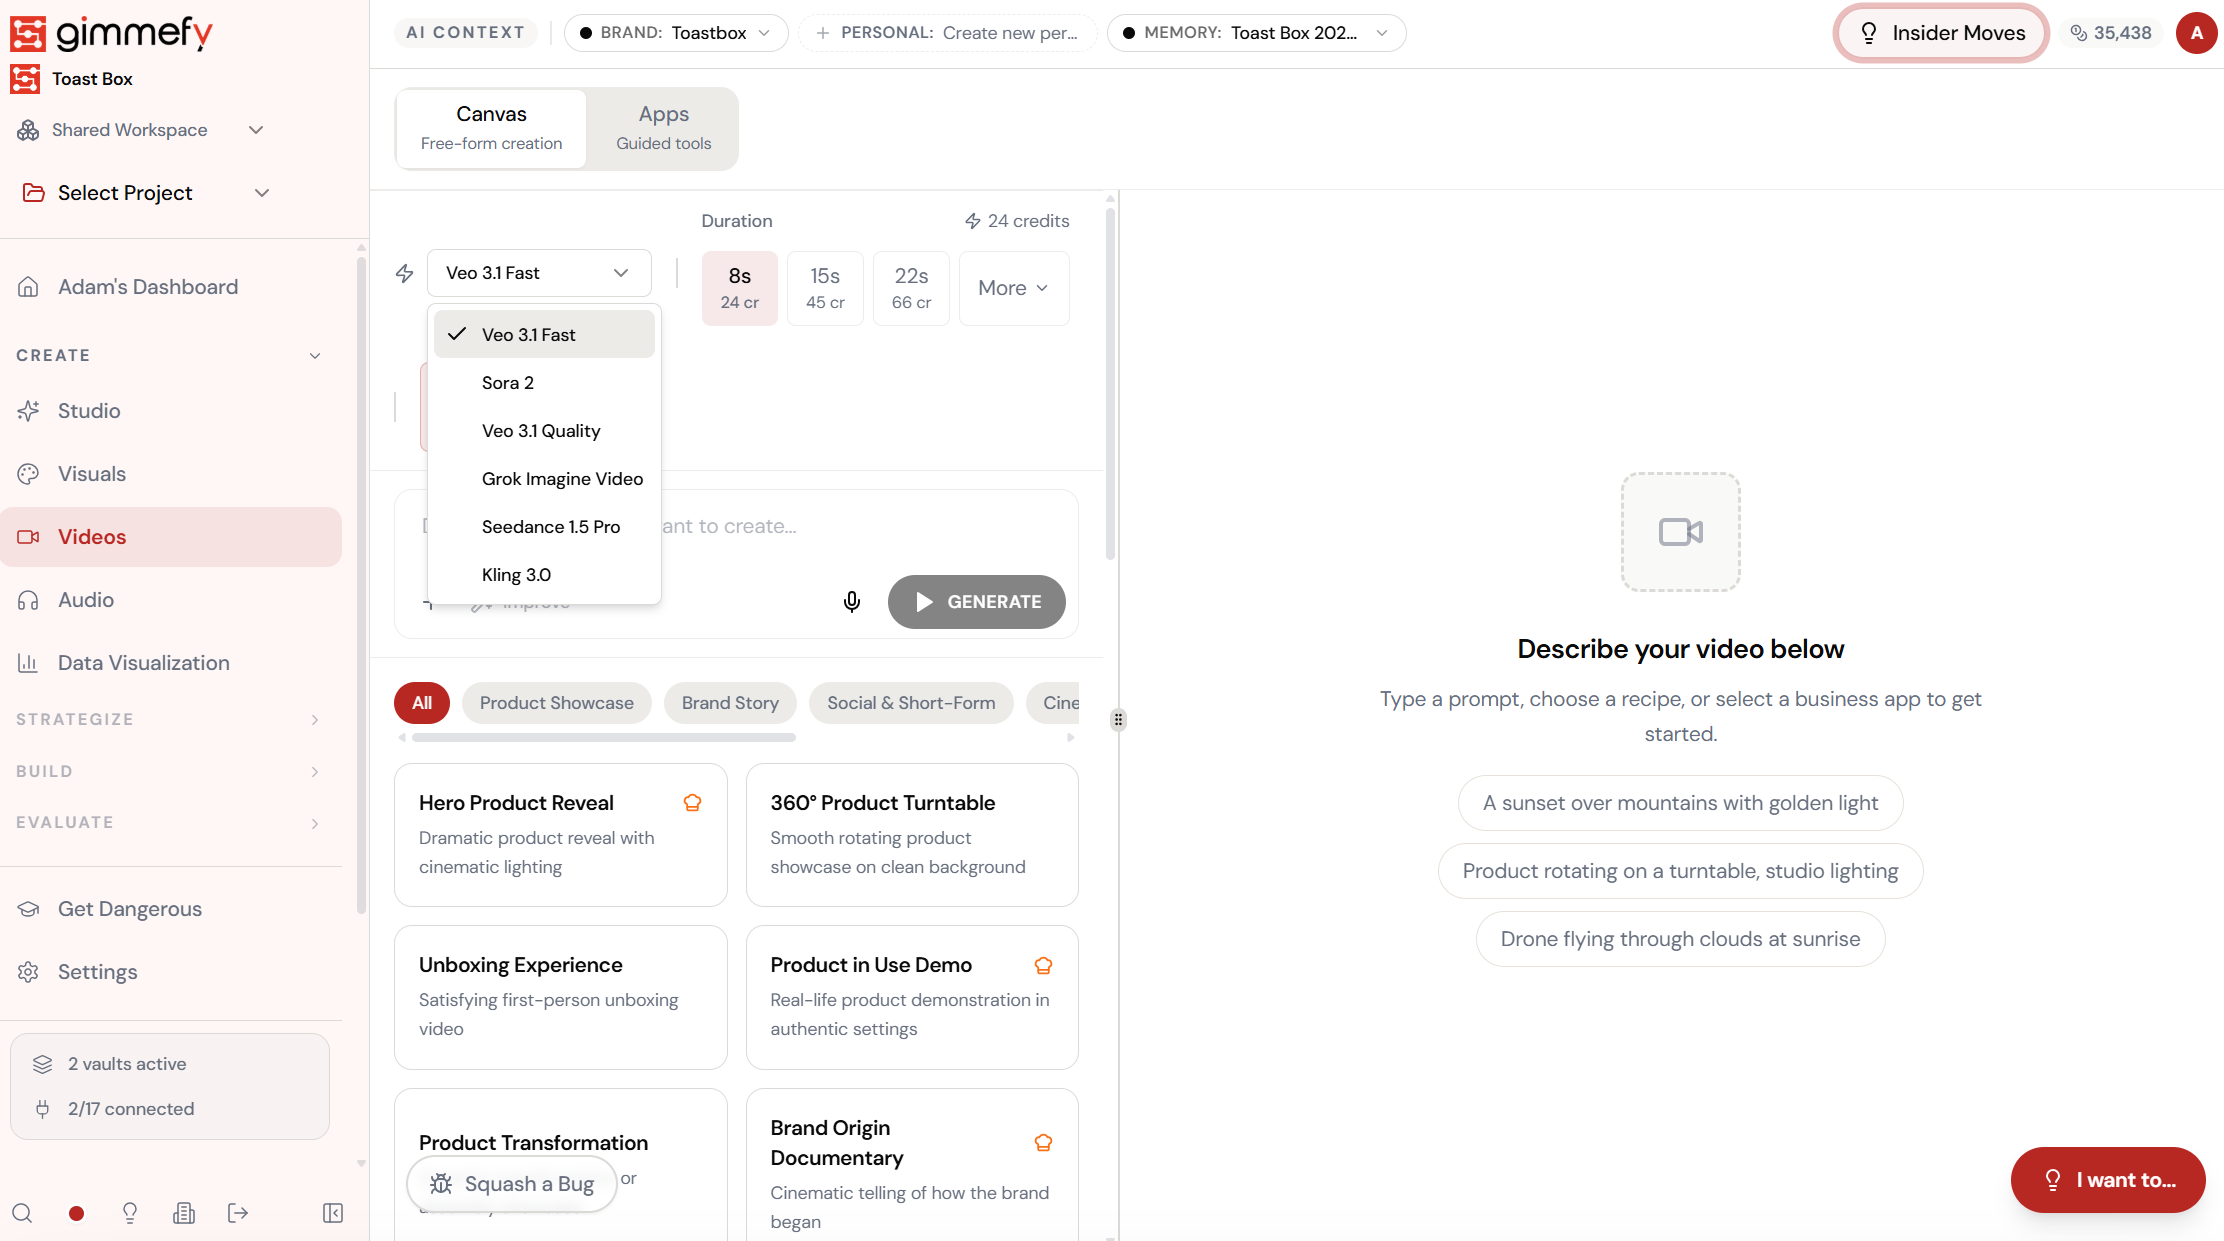
Set up your inputs.
Configure your settings, upload your assets, or describe what you need. Image-to-Video handles the complexity.
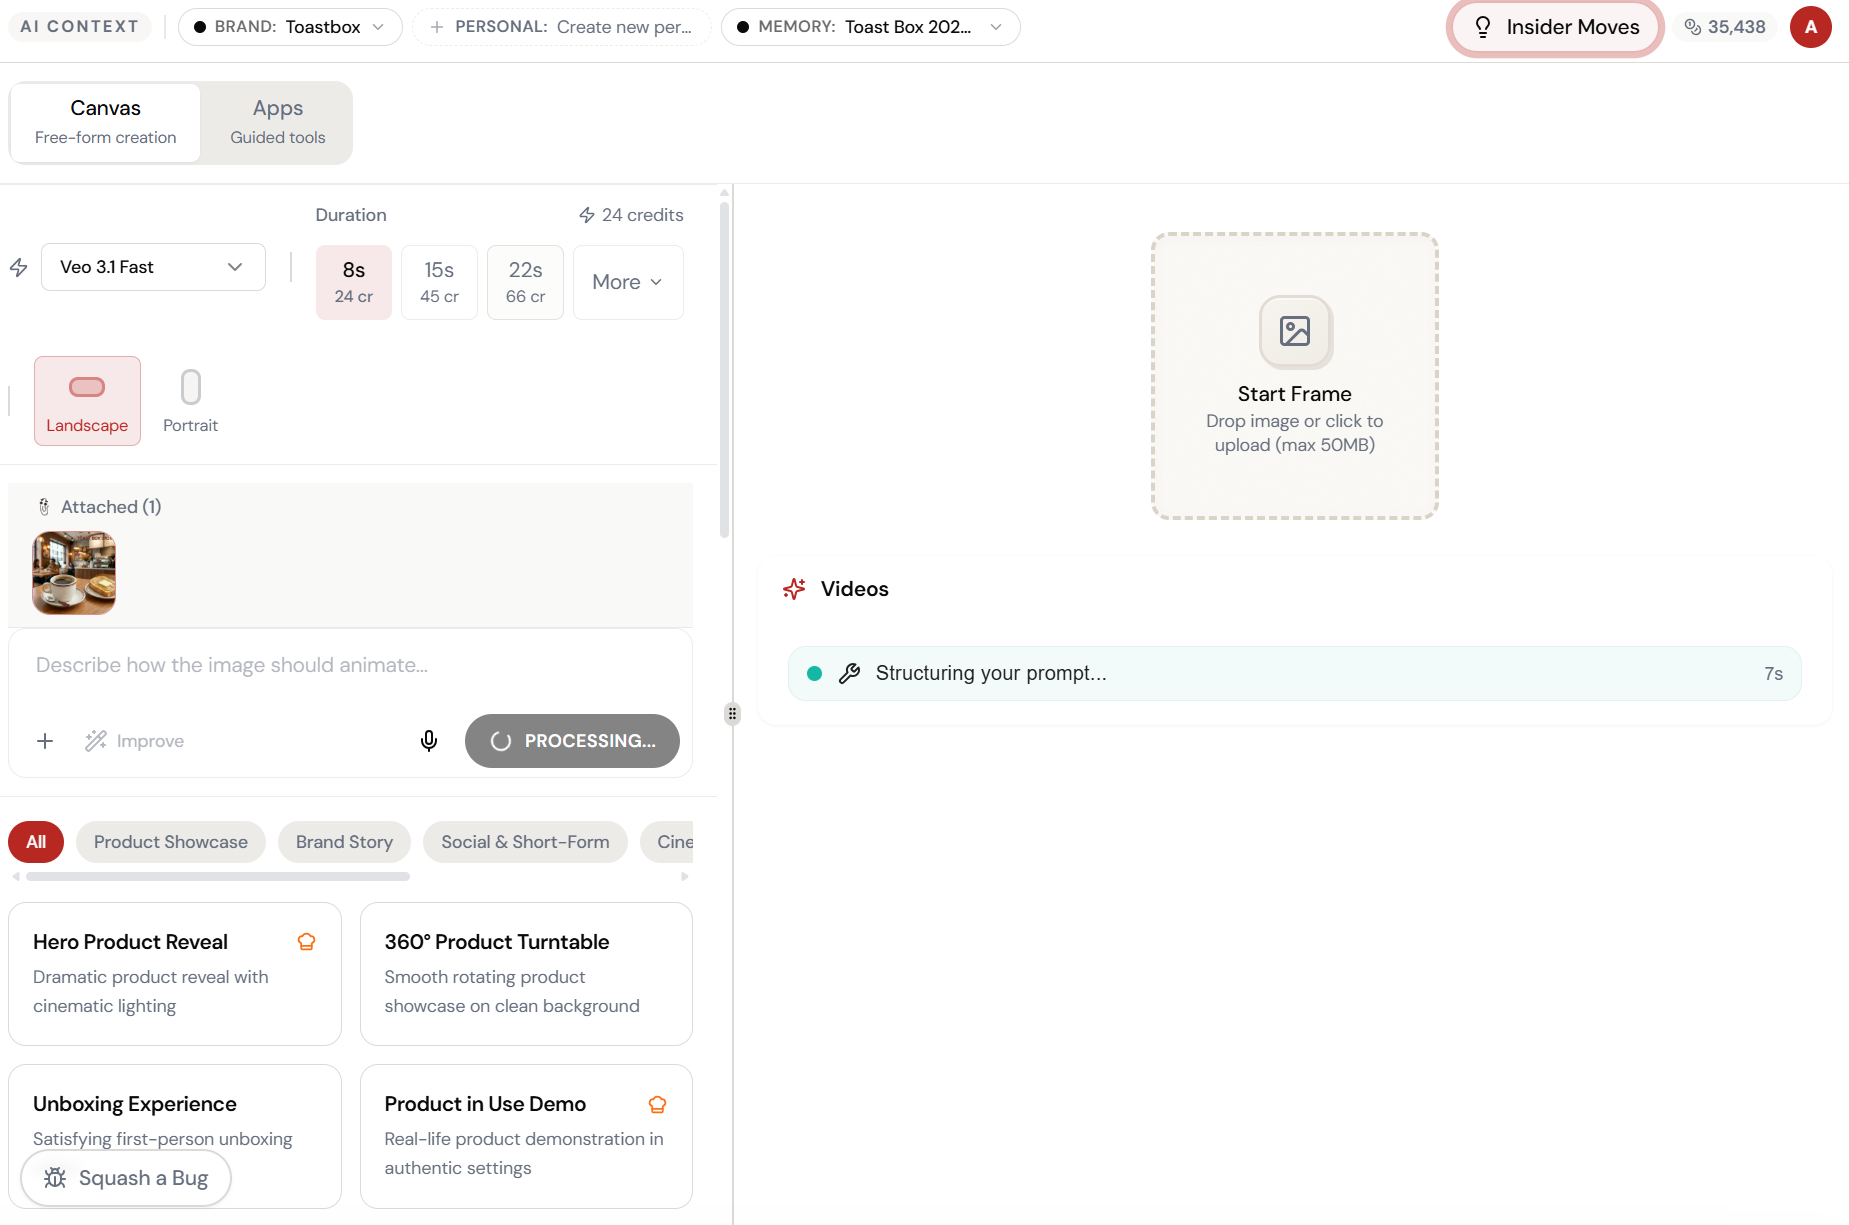
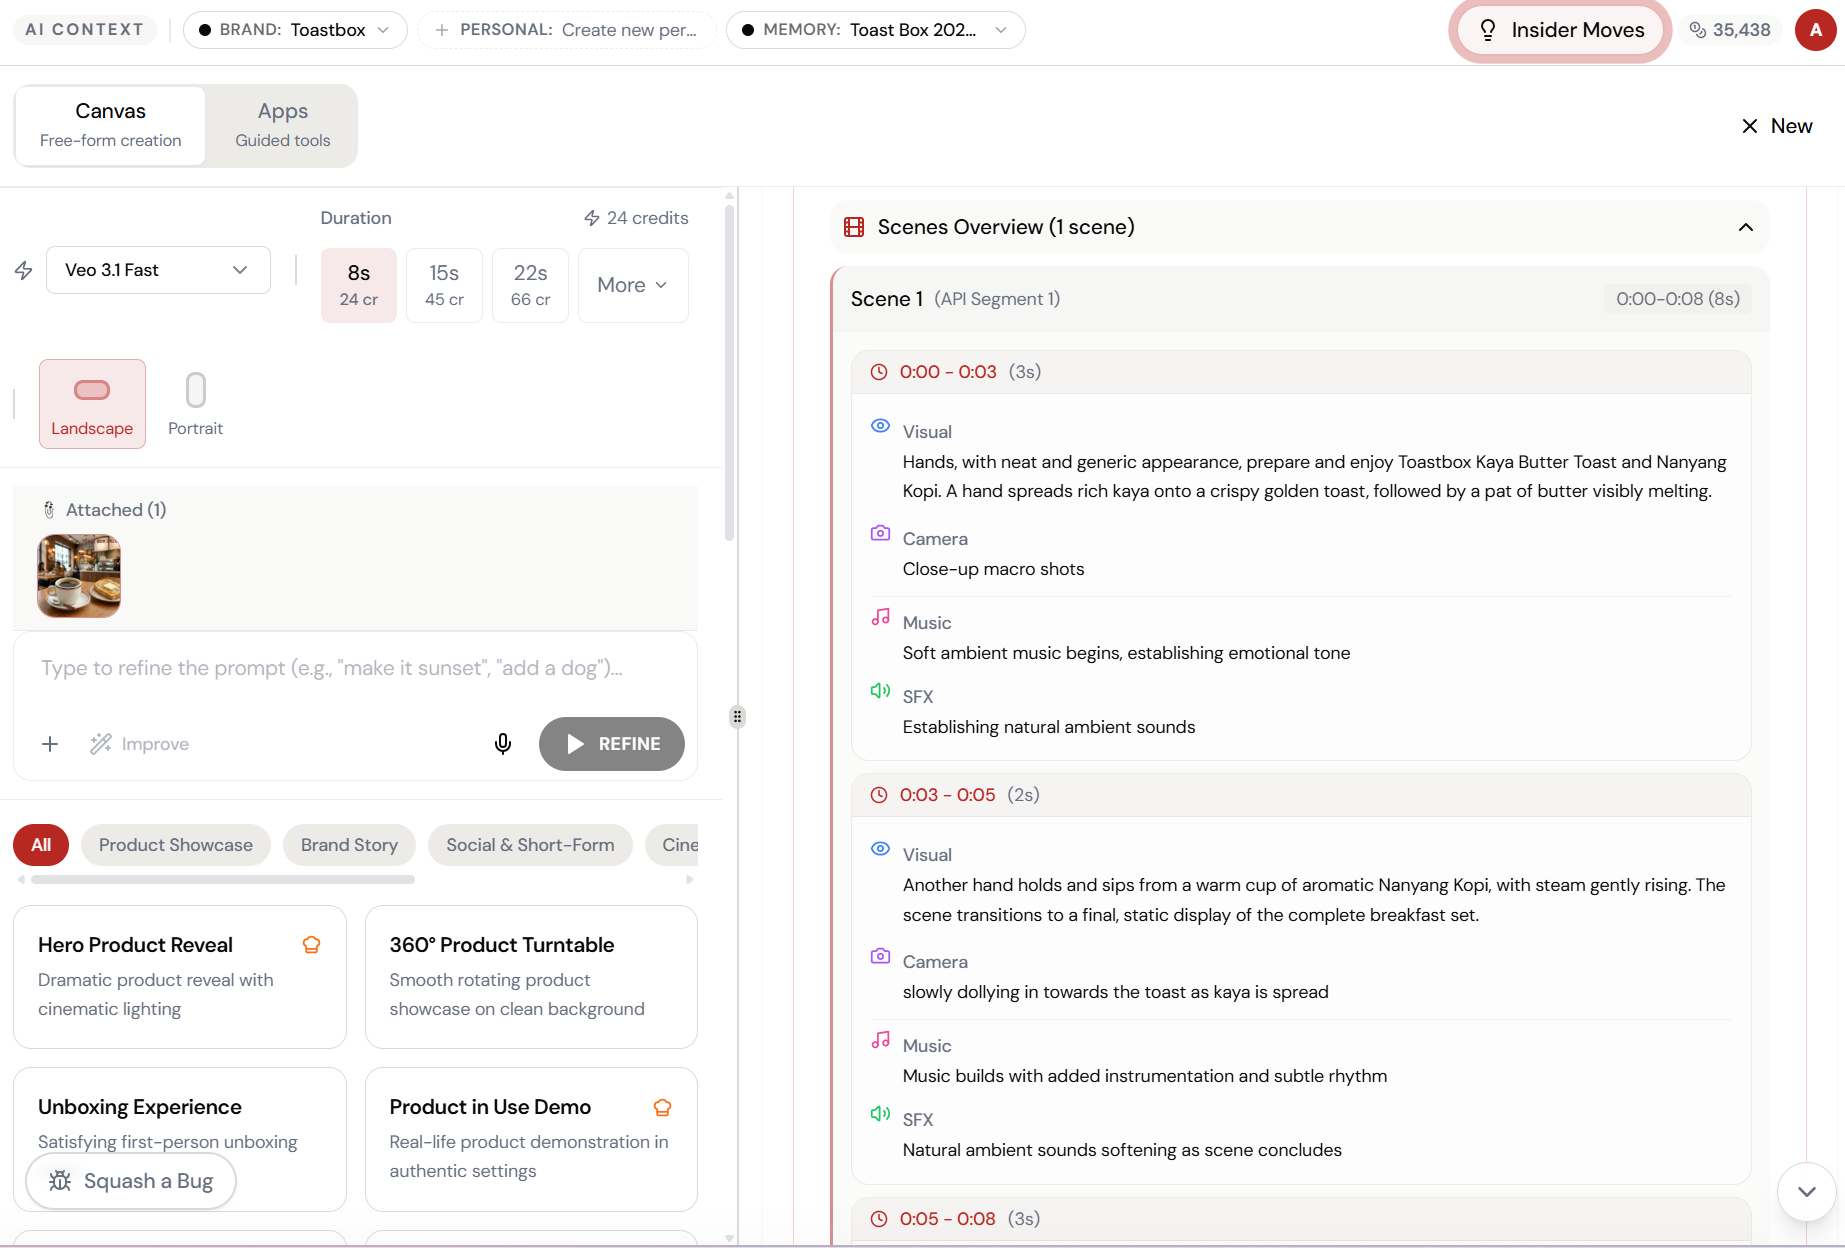
Open Image-to-Video. Here’s what you see.
Navigate to Image-to-Video — the interface is clean, focused, and ready for your input.
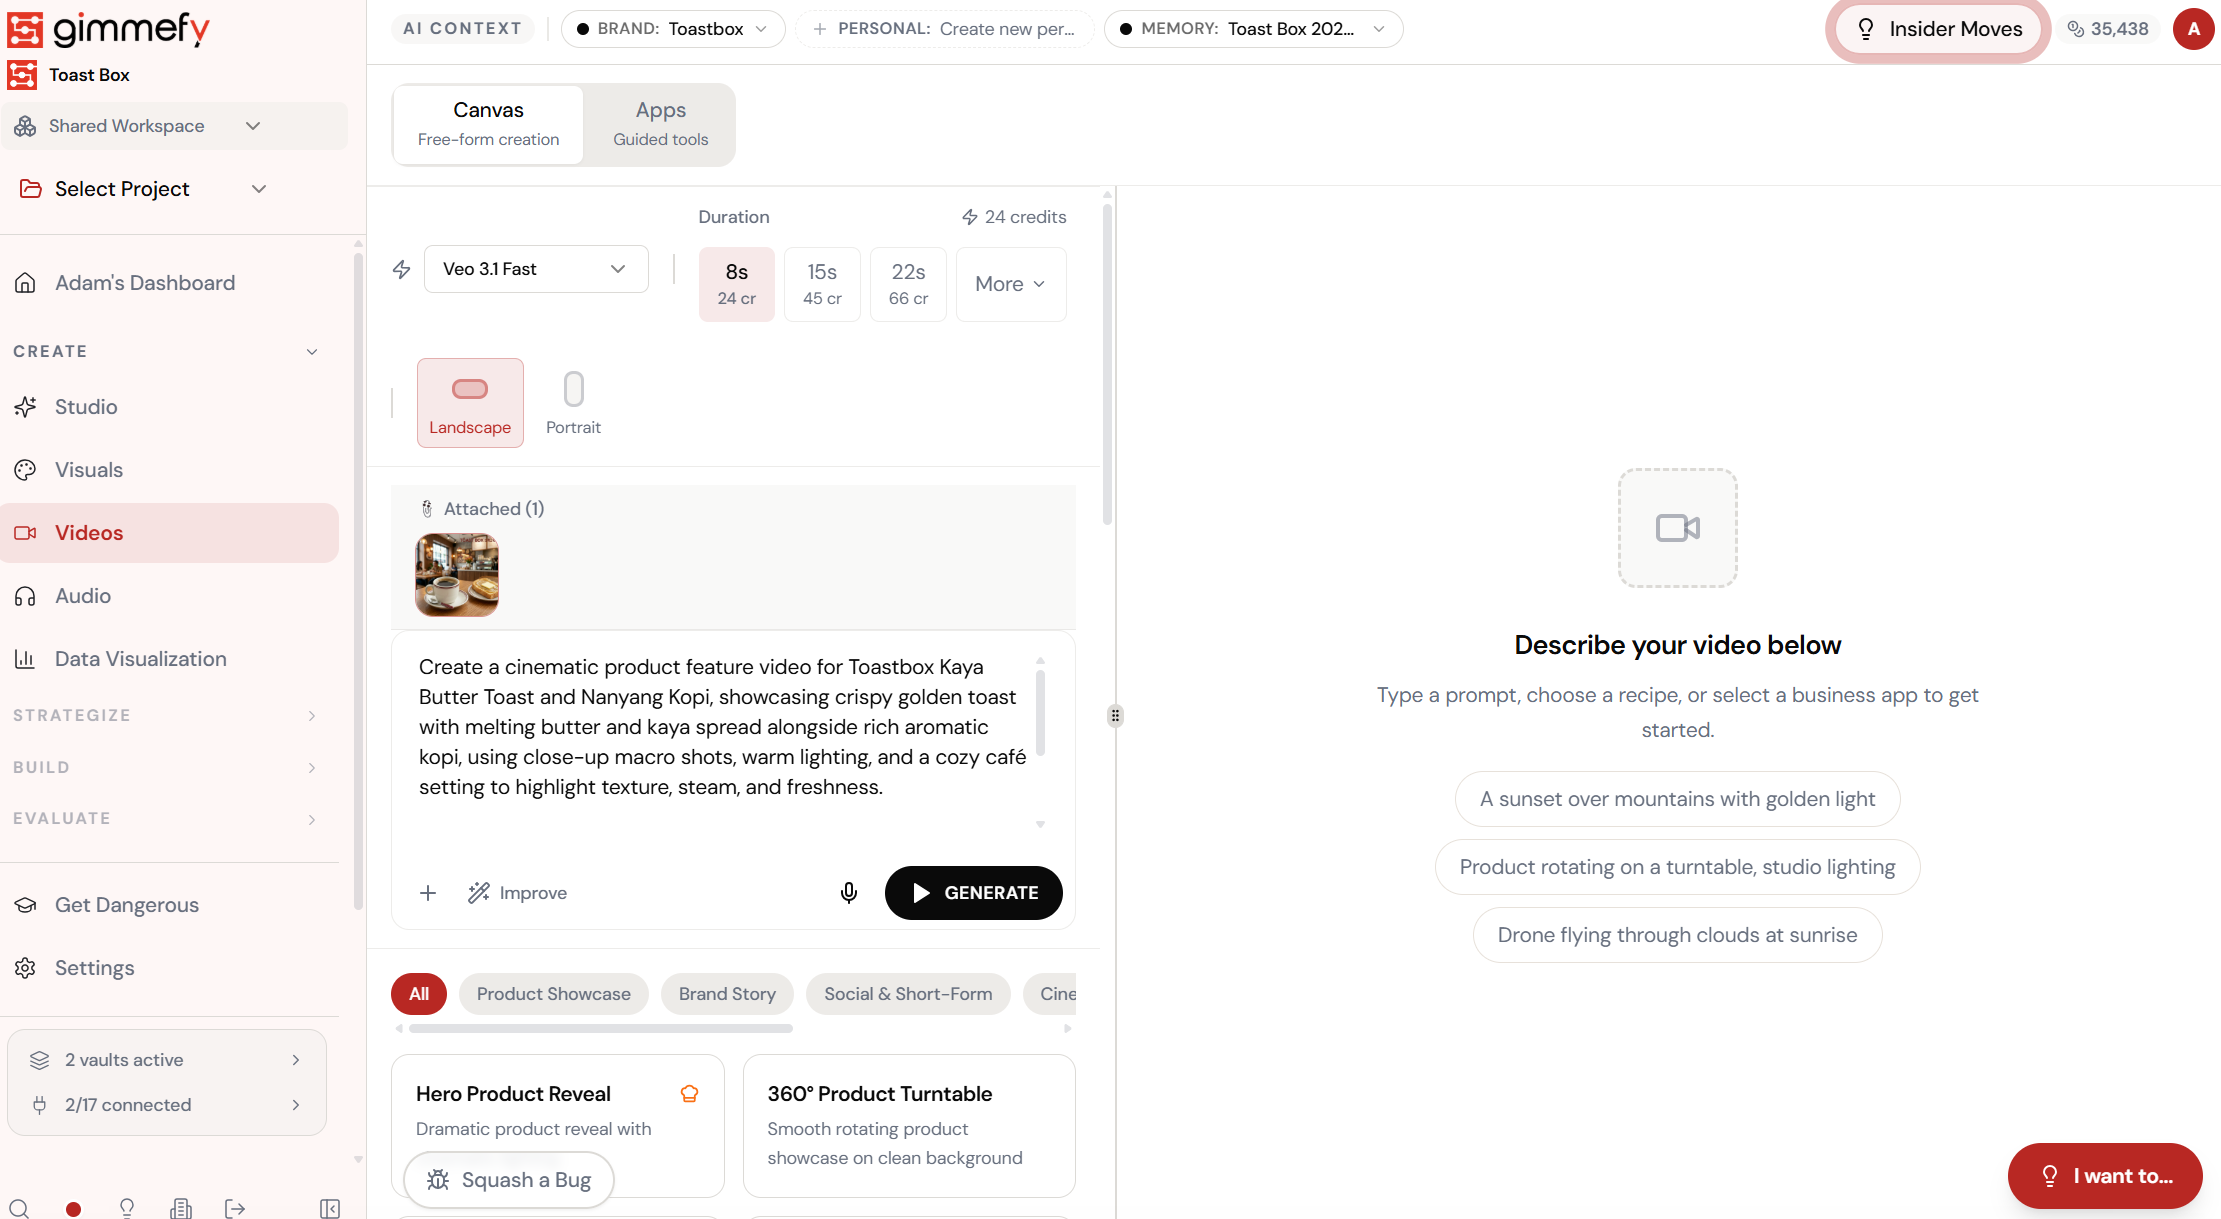
Upload the photo. Describe the animation.
Attach any product image and describe how it should come alive — camera panning, steam rising, butter melting. The prompt field says it all: “Describe how the image should animate.”
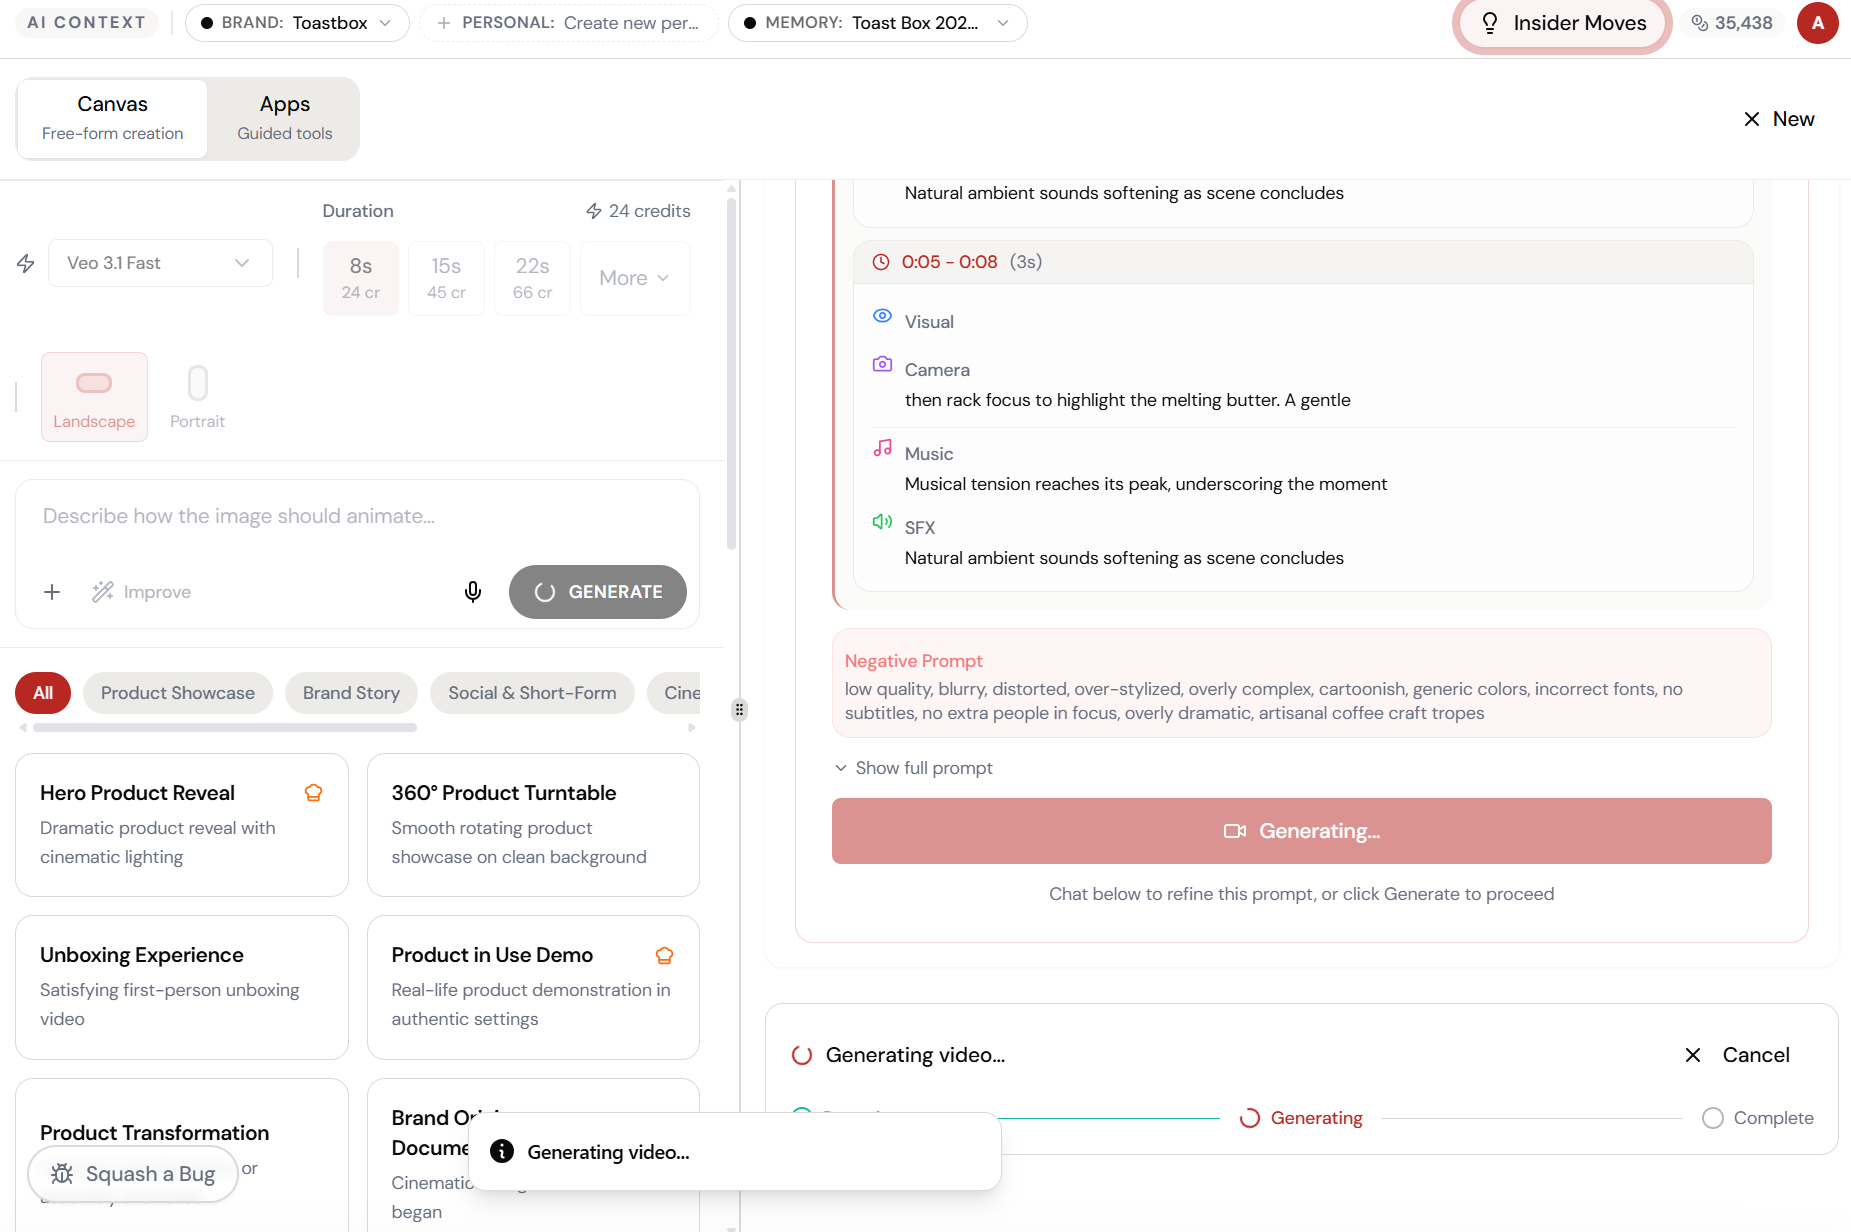
The magic happens here.
The AI interprets your input and begins creating — you can see the progress in real time.
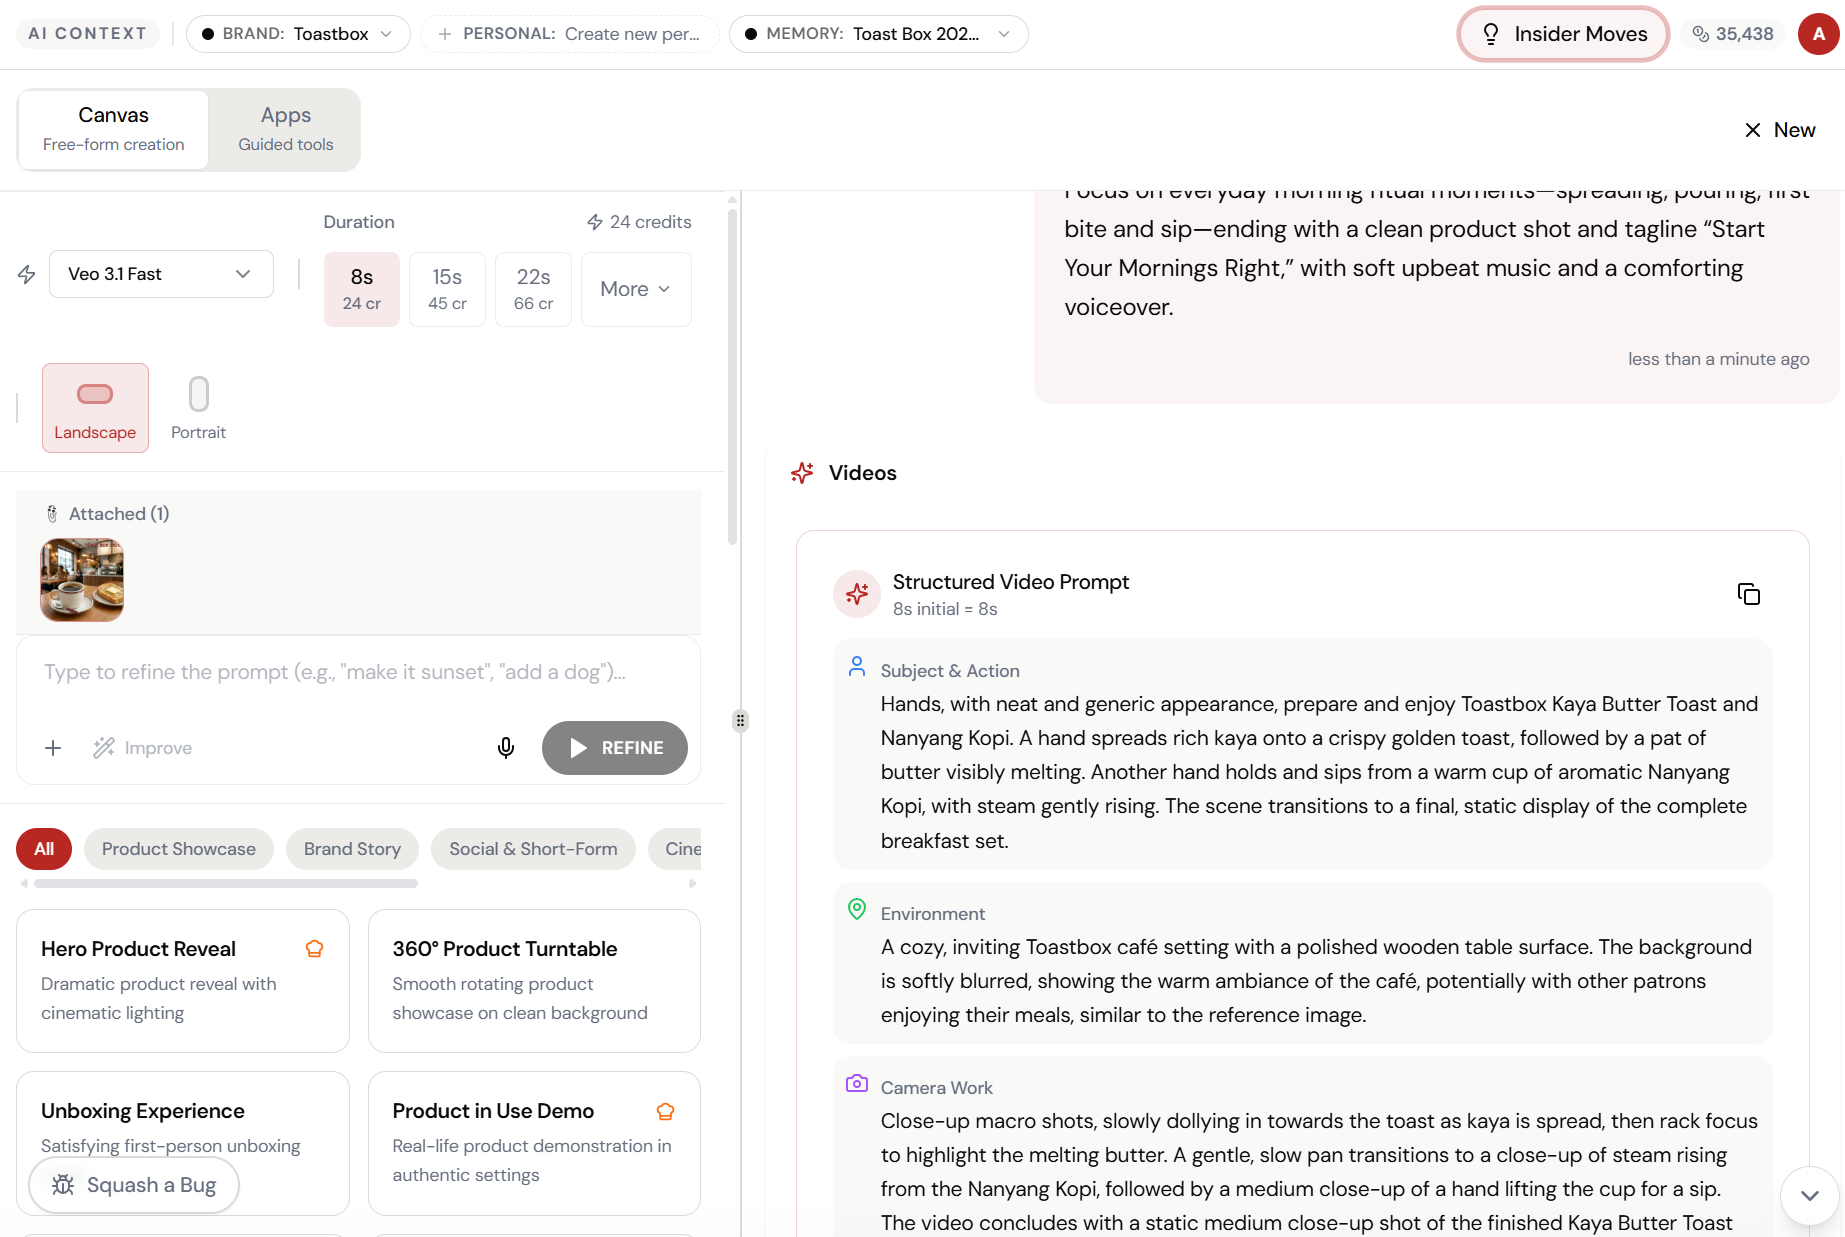
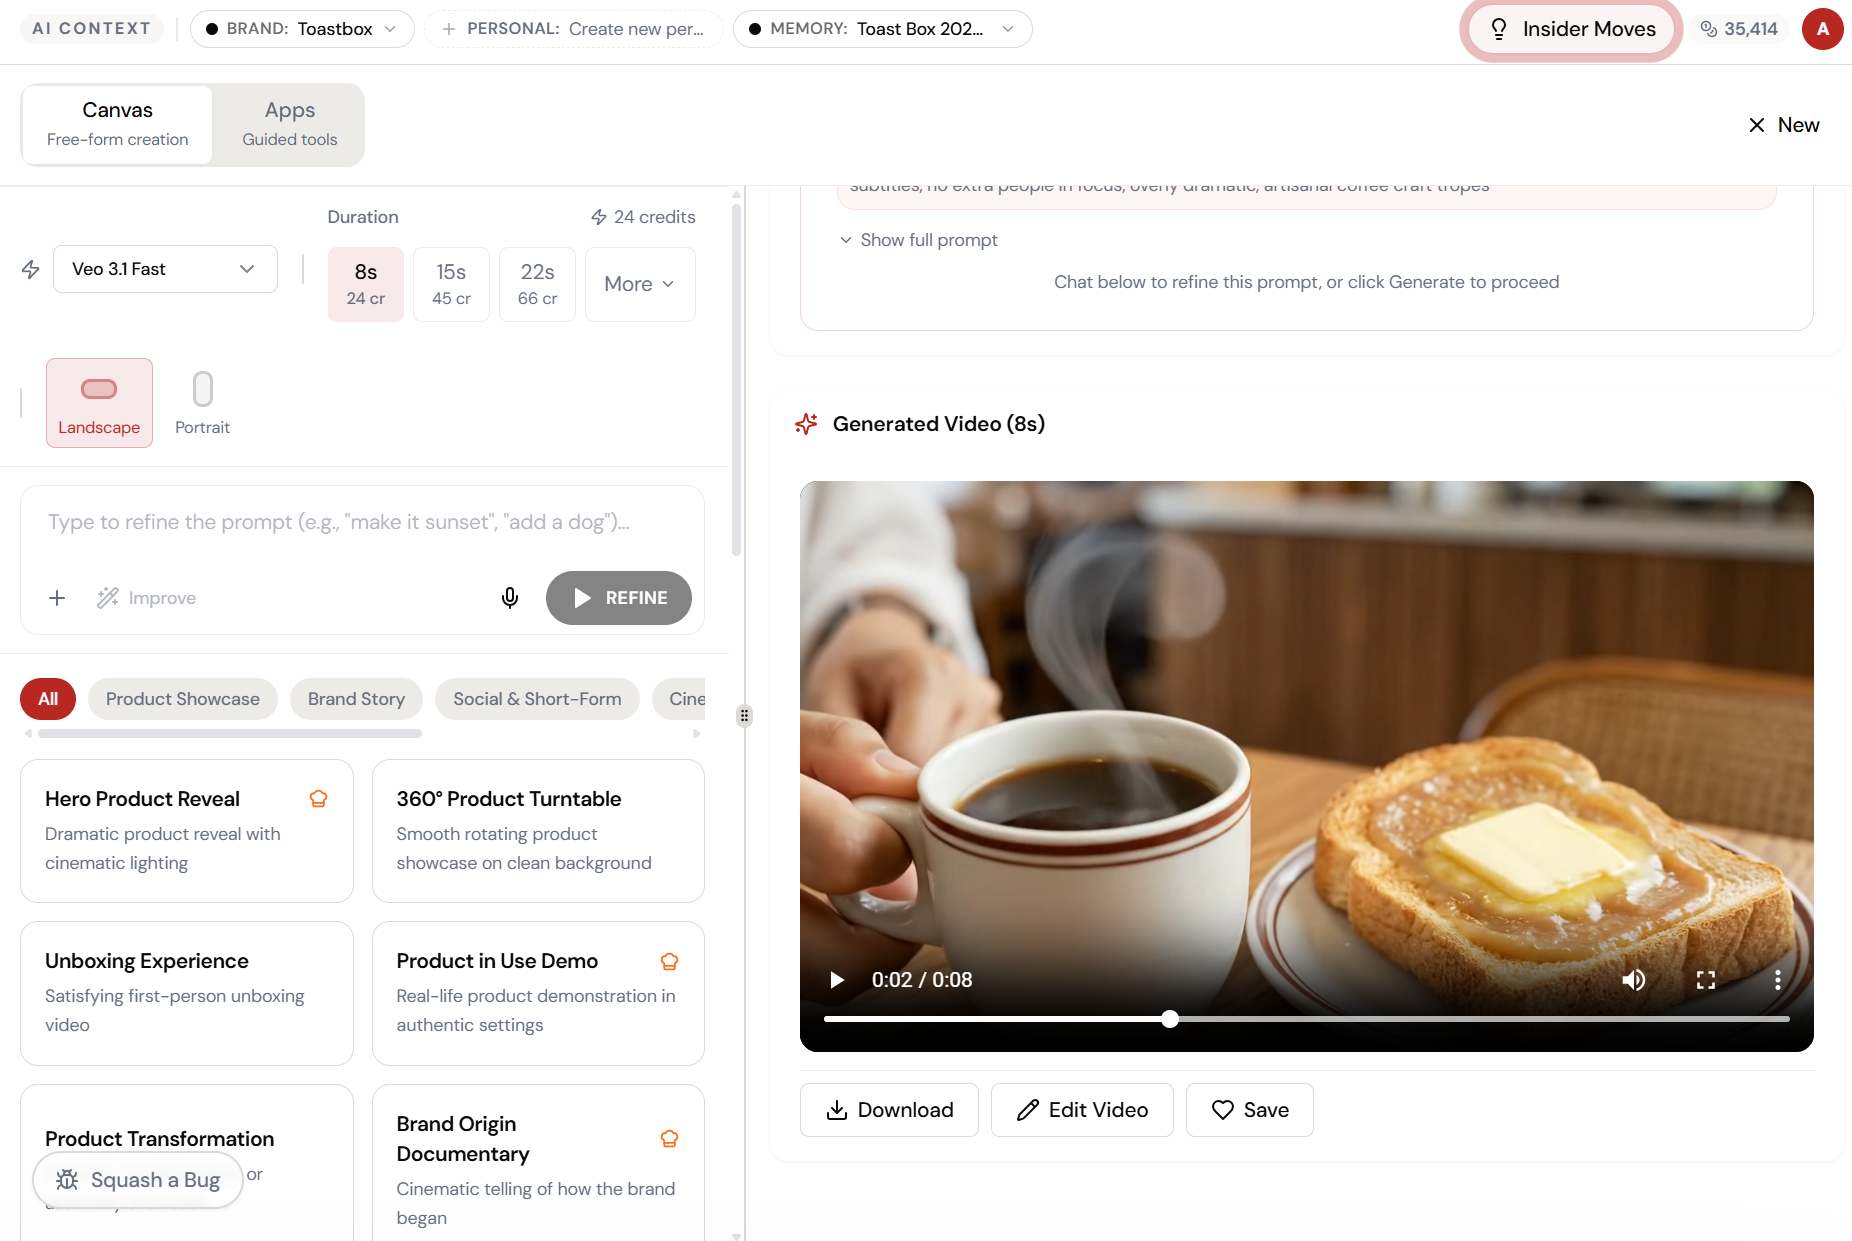
AI adds the motion. You keep the quality.
The AI generates camera movements, lighting transitions, and natural motion — all anchored to your original product photo. No new photoshoot needed.
The result. Ready to use.
Your output is complete — polished, on-brand, and ready to download, share, or refine further.
What Actually Changes
Manual. Repetitive. Time-consuming. Every image-to-video task starts from scratch with no context, no memory, and no brand awareness.
One click. Full context. Image-to-Video handles it — with your brand, your data, your preferences baked in from the start.