The image looks great on screen. It will look terrible in print.
72 DPI. That’s what your beautiful campaign image is. Print needs 300. Upscaling makes it blurry. Re-shooting costs money. The print deadline is Friday.
The Hack: The Resolution Rescue
Fine-tune the details.
Adjust settings, add context, or refine your prompt. Print-Ready Enhancer gives you control without complexity.
The Walkthrough
Fine-tune the details.
Adjust settings, add context, or refine your prompt. Print-Ready Enhancer gives you control without complexity.
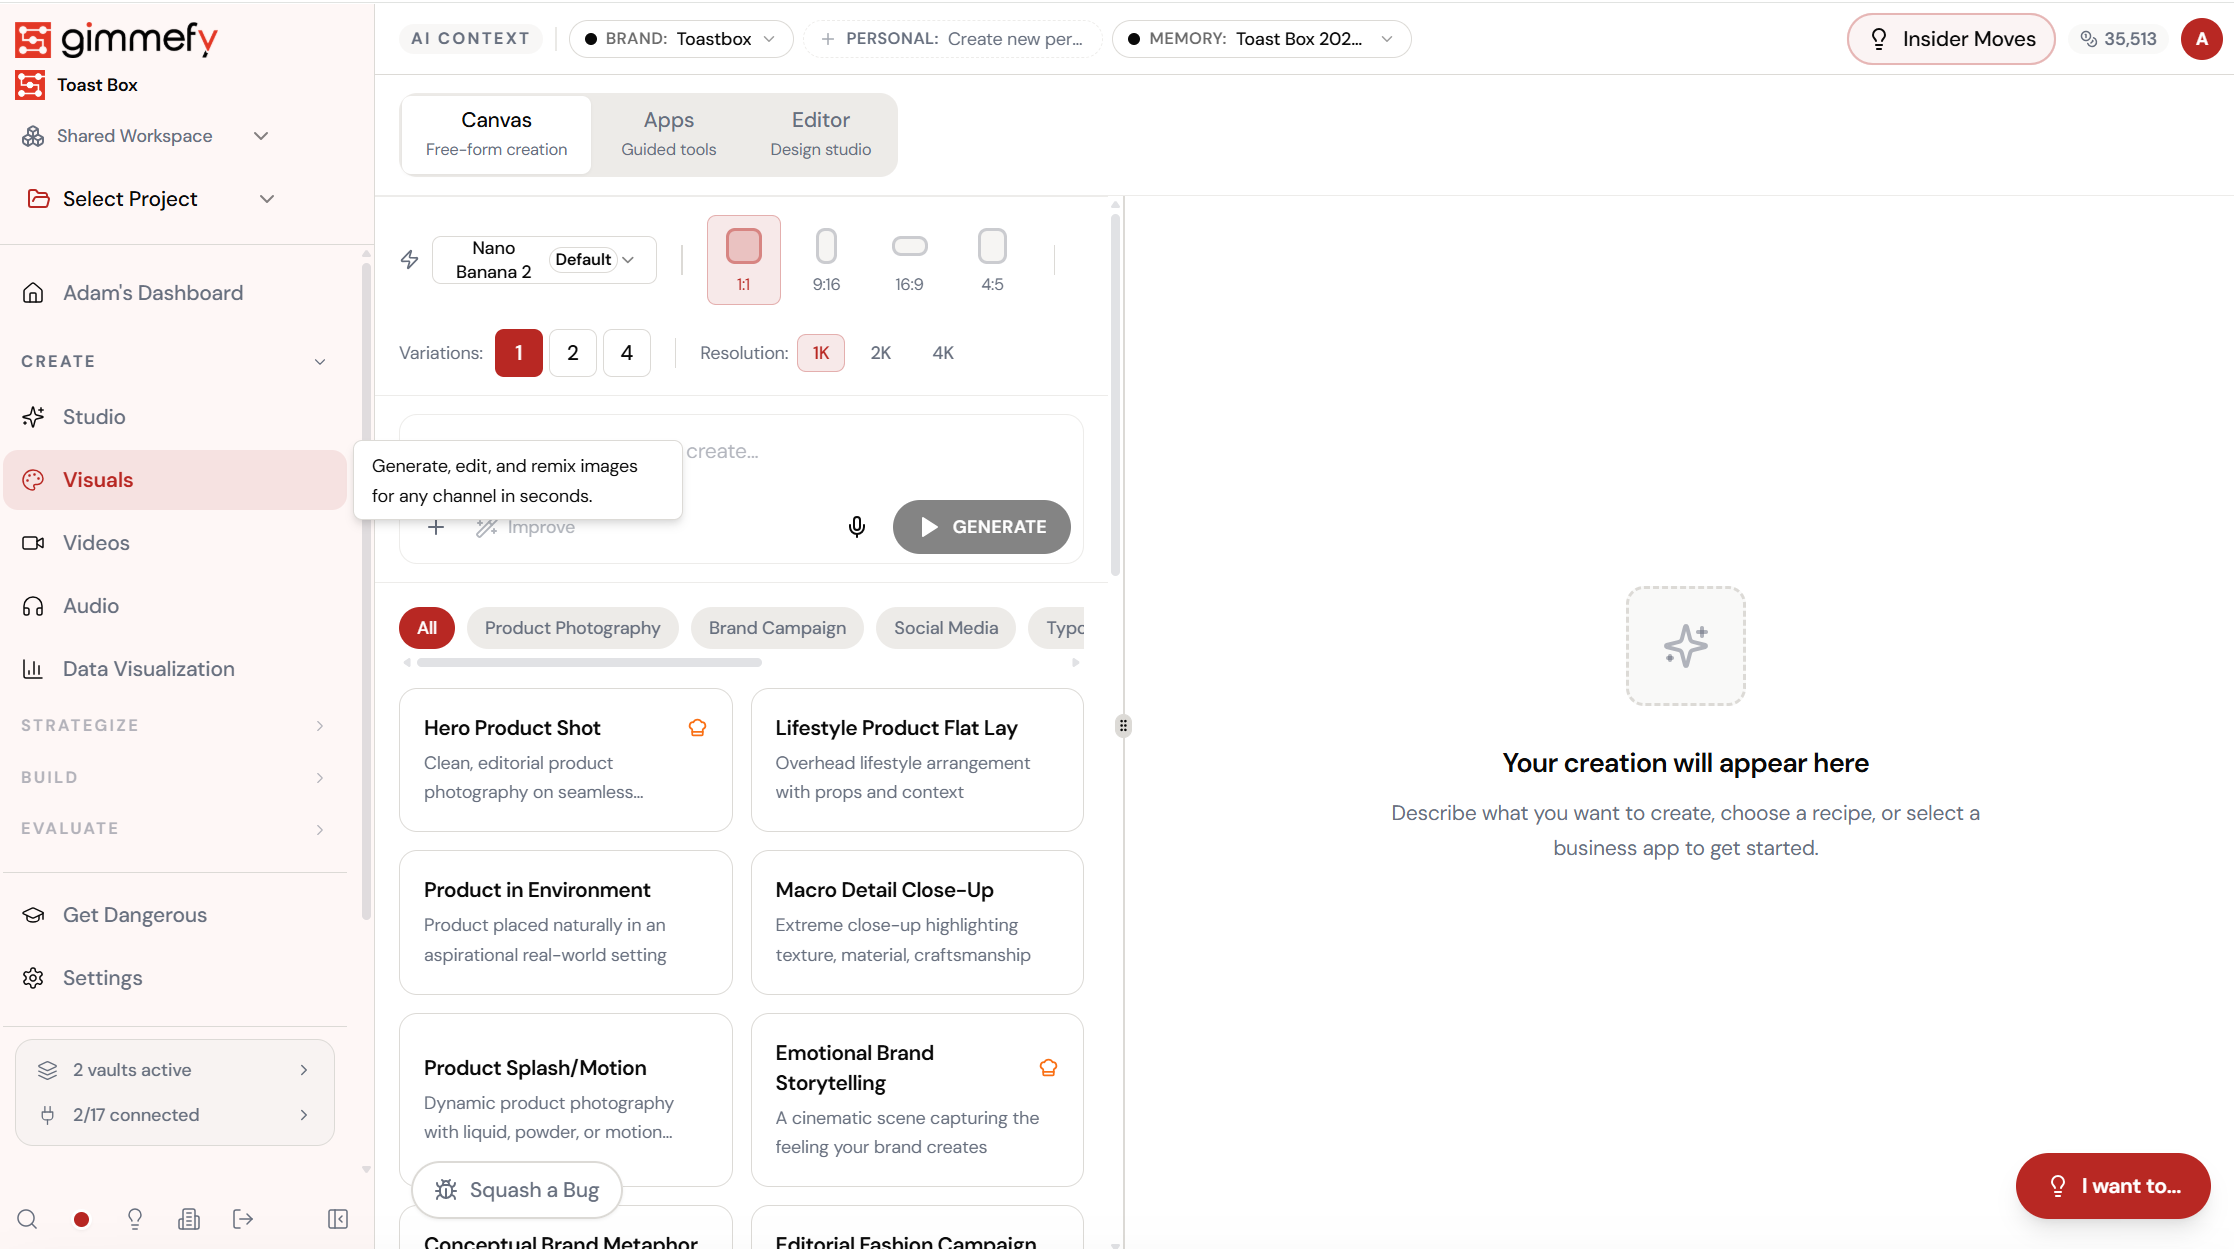
Set up your inputs.
Configure your settings, upload your assets, or describe what you need. Print-Ready Enhancer handles the complexity.
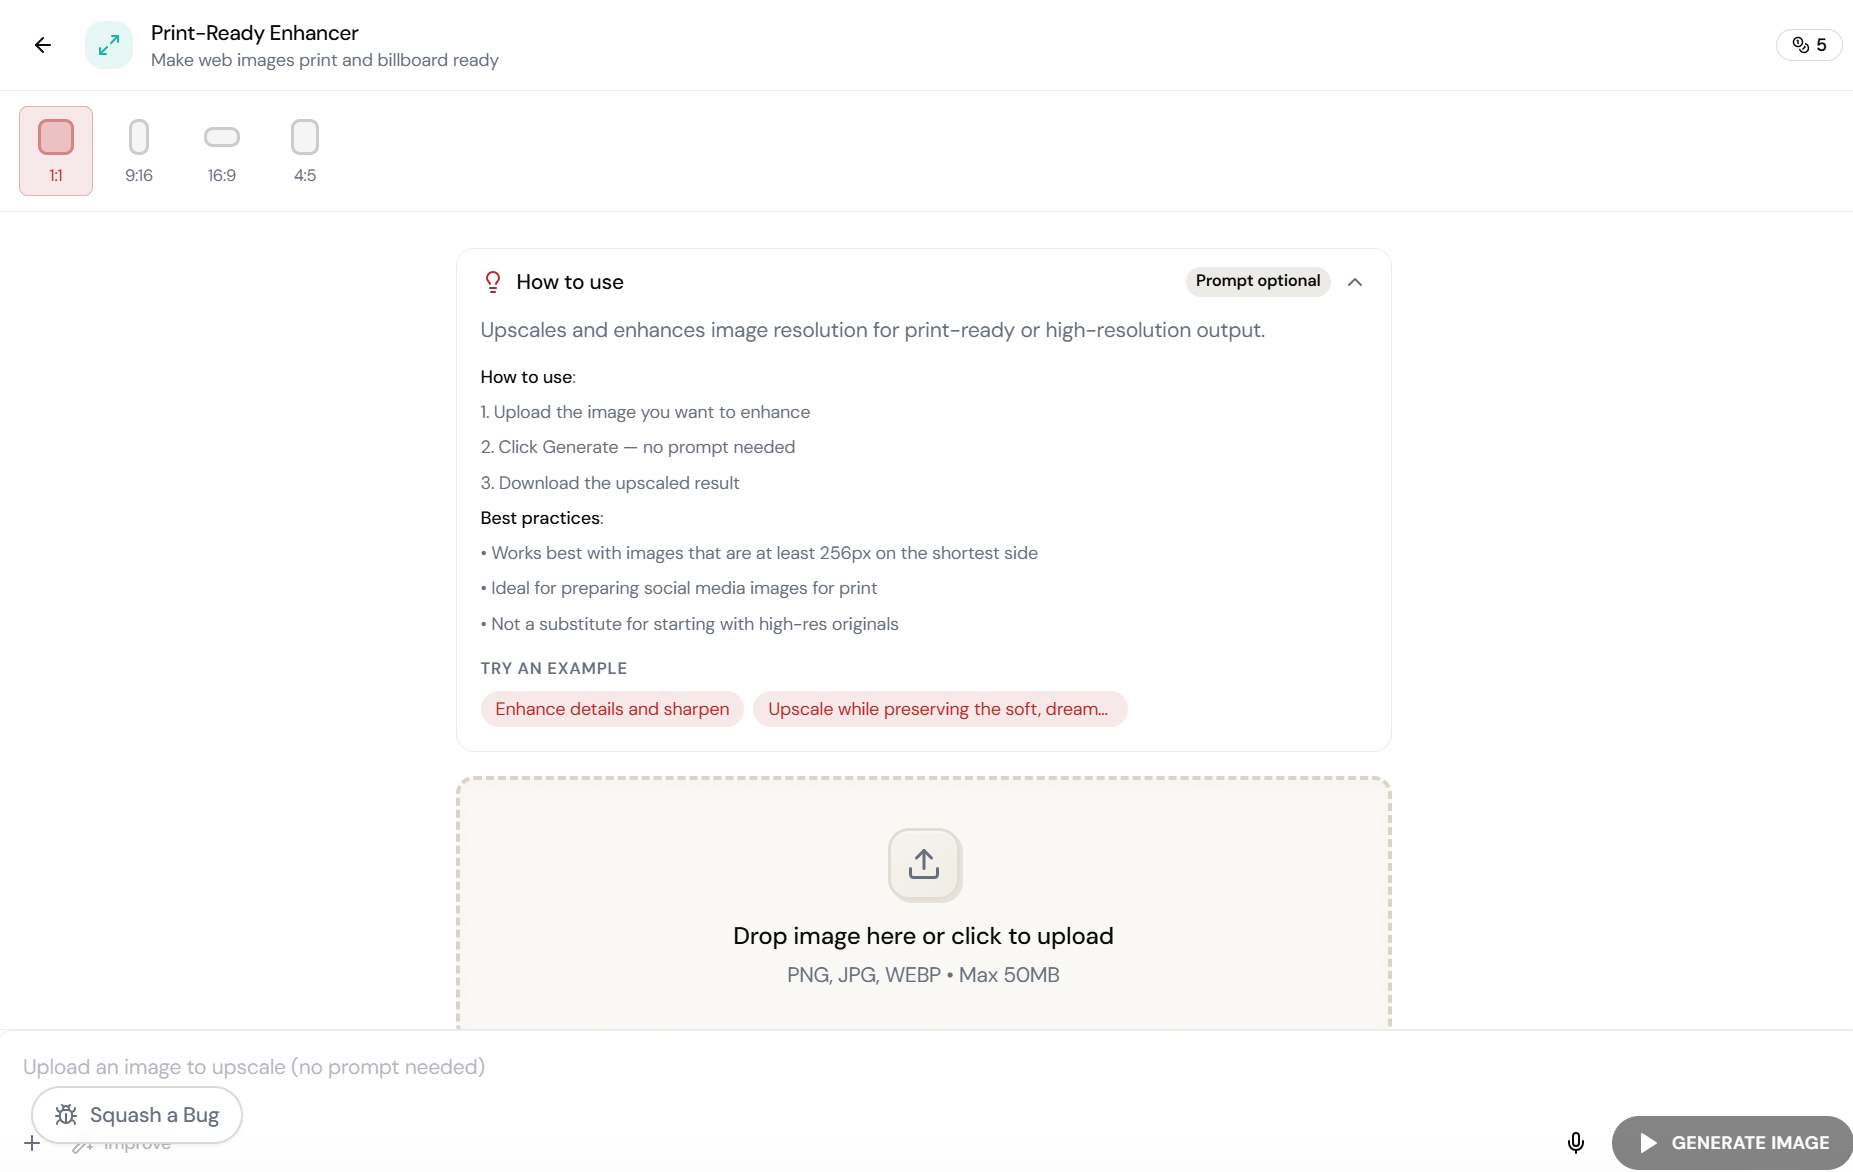
Open Print-Ready Enhancer. Here’s what you see.
Navigate to Print-Ready Enhancer — the interface is clean, focused, and ready for your input.
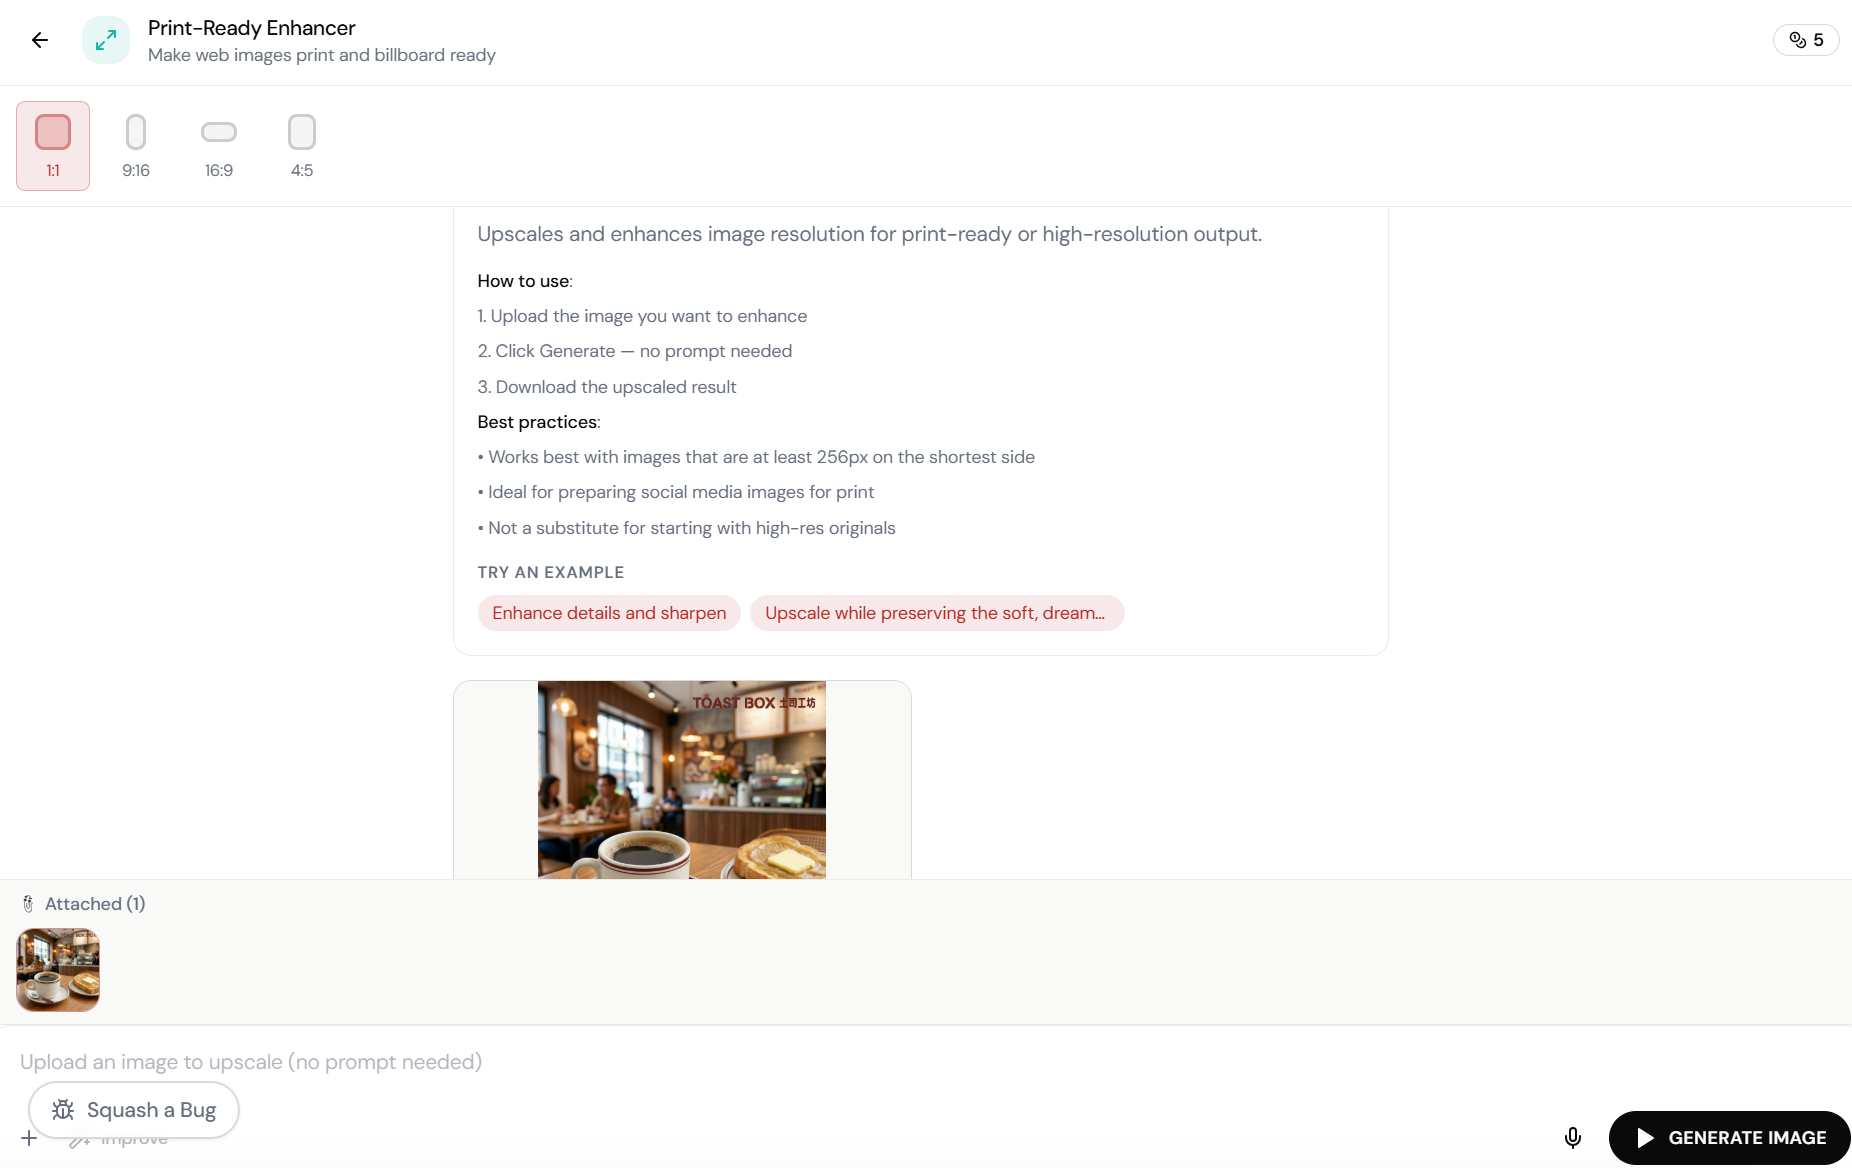
Upload the image. Click Generate. That’s it.
Print-Ready Enhancer upscales and enhances image resolution for print-ready output. No prompt needed \u2014 just upload and generate. Works best with images 256px+ on the shortest side.
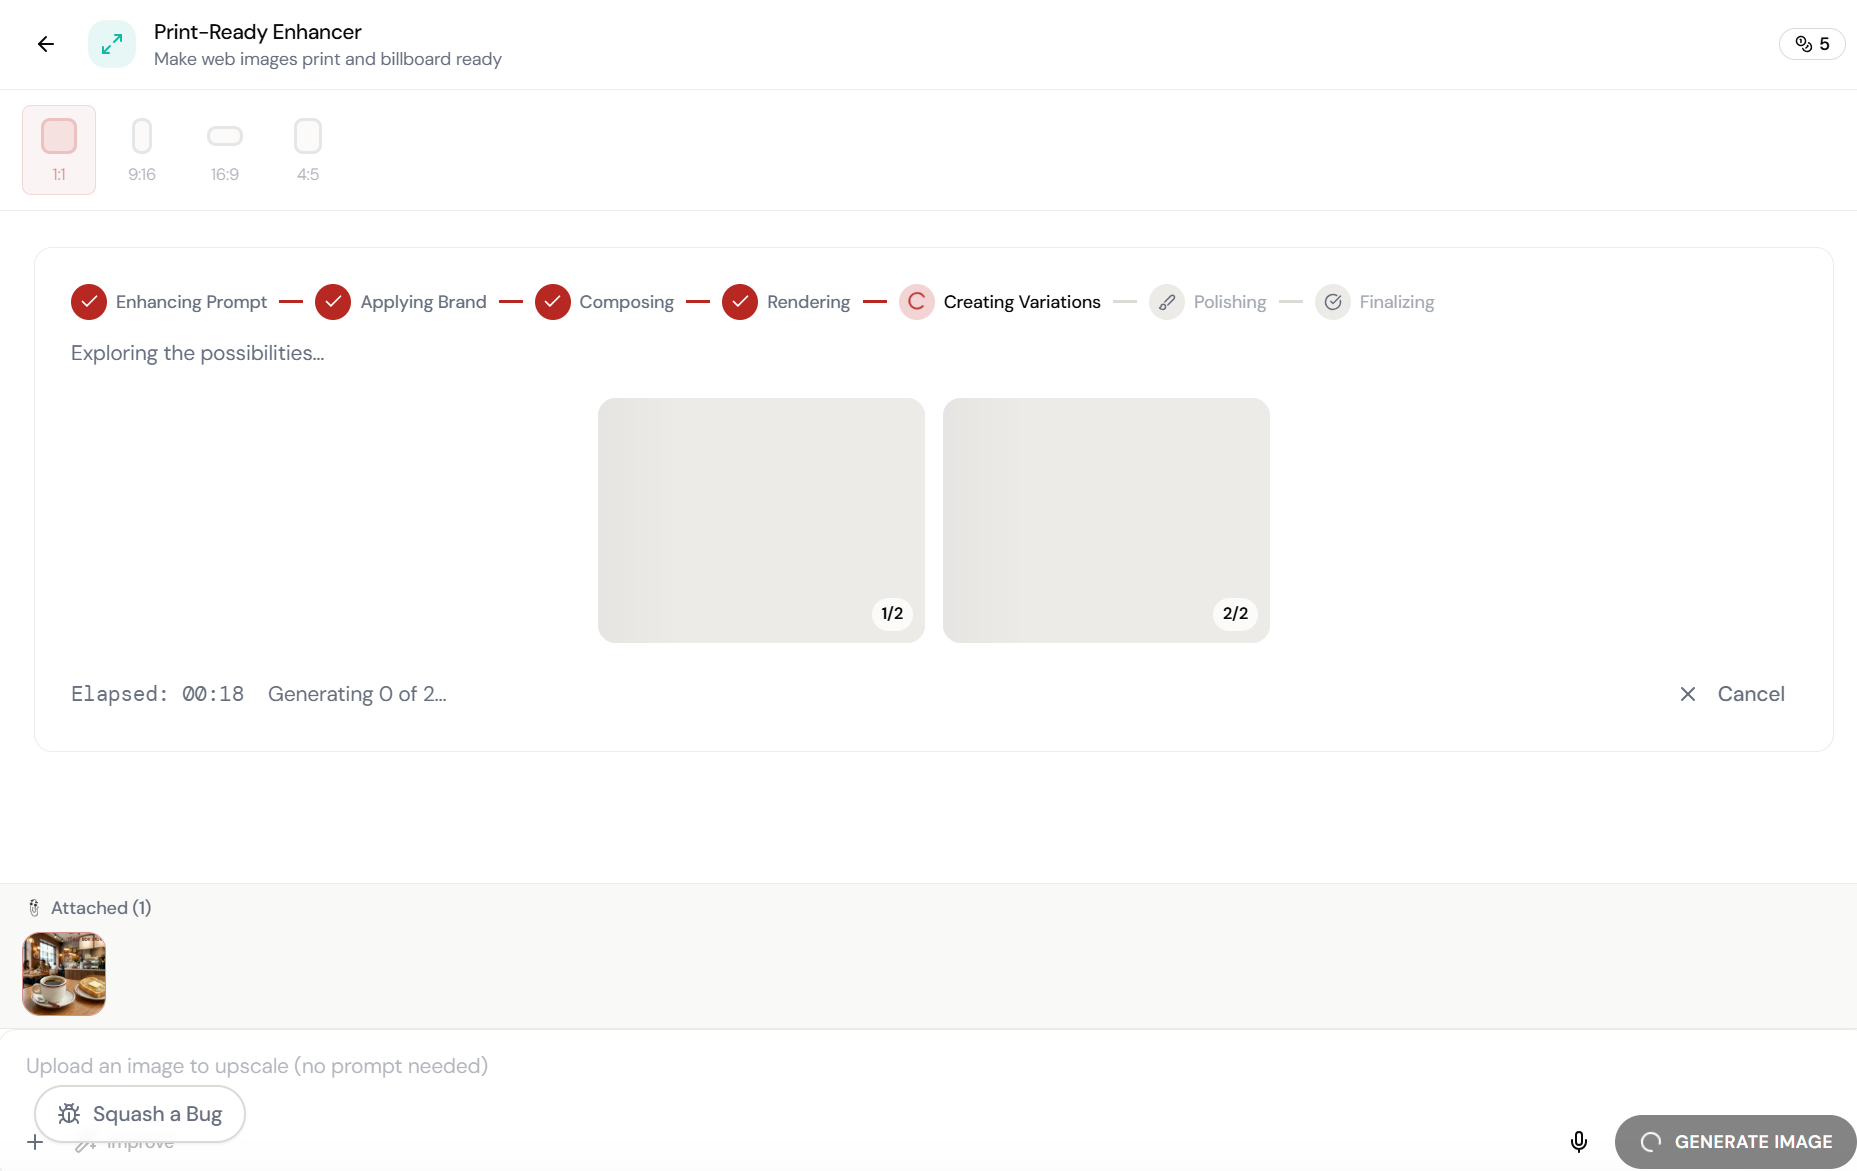
Almost there. Watch it work.
The AI processes your request — composing, rendering, and refining until the output matches your brief.
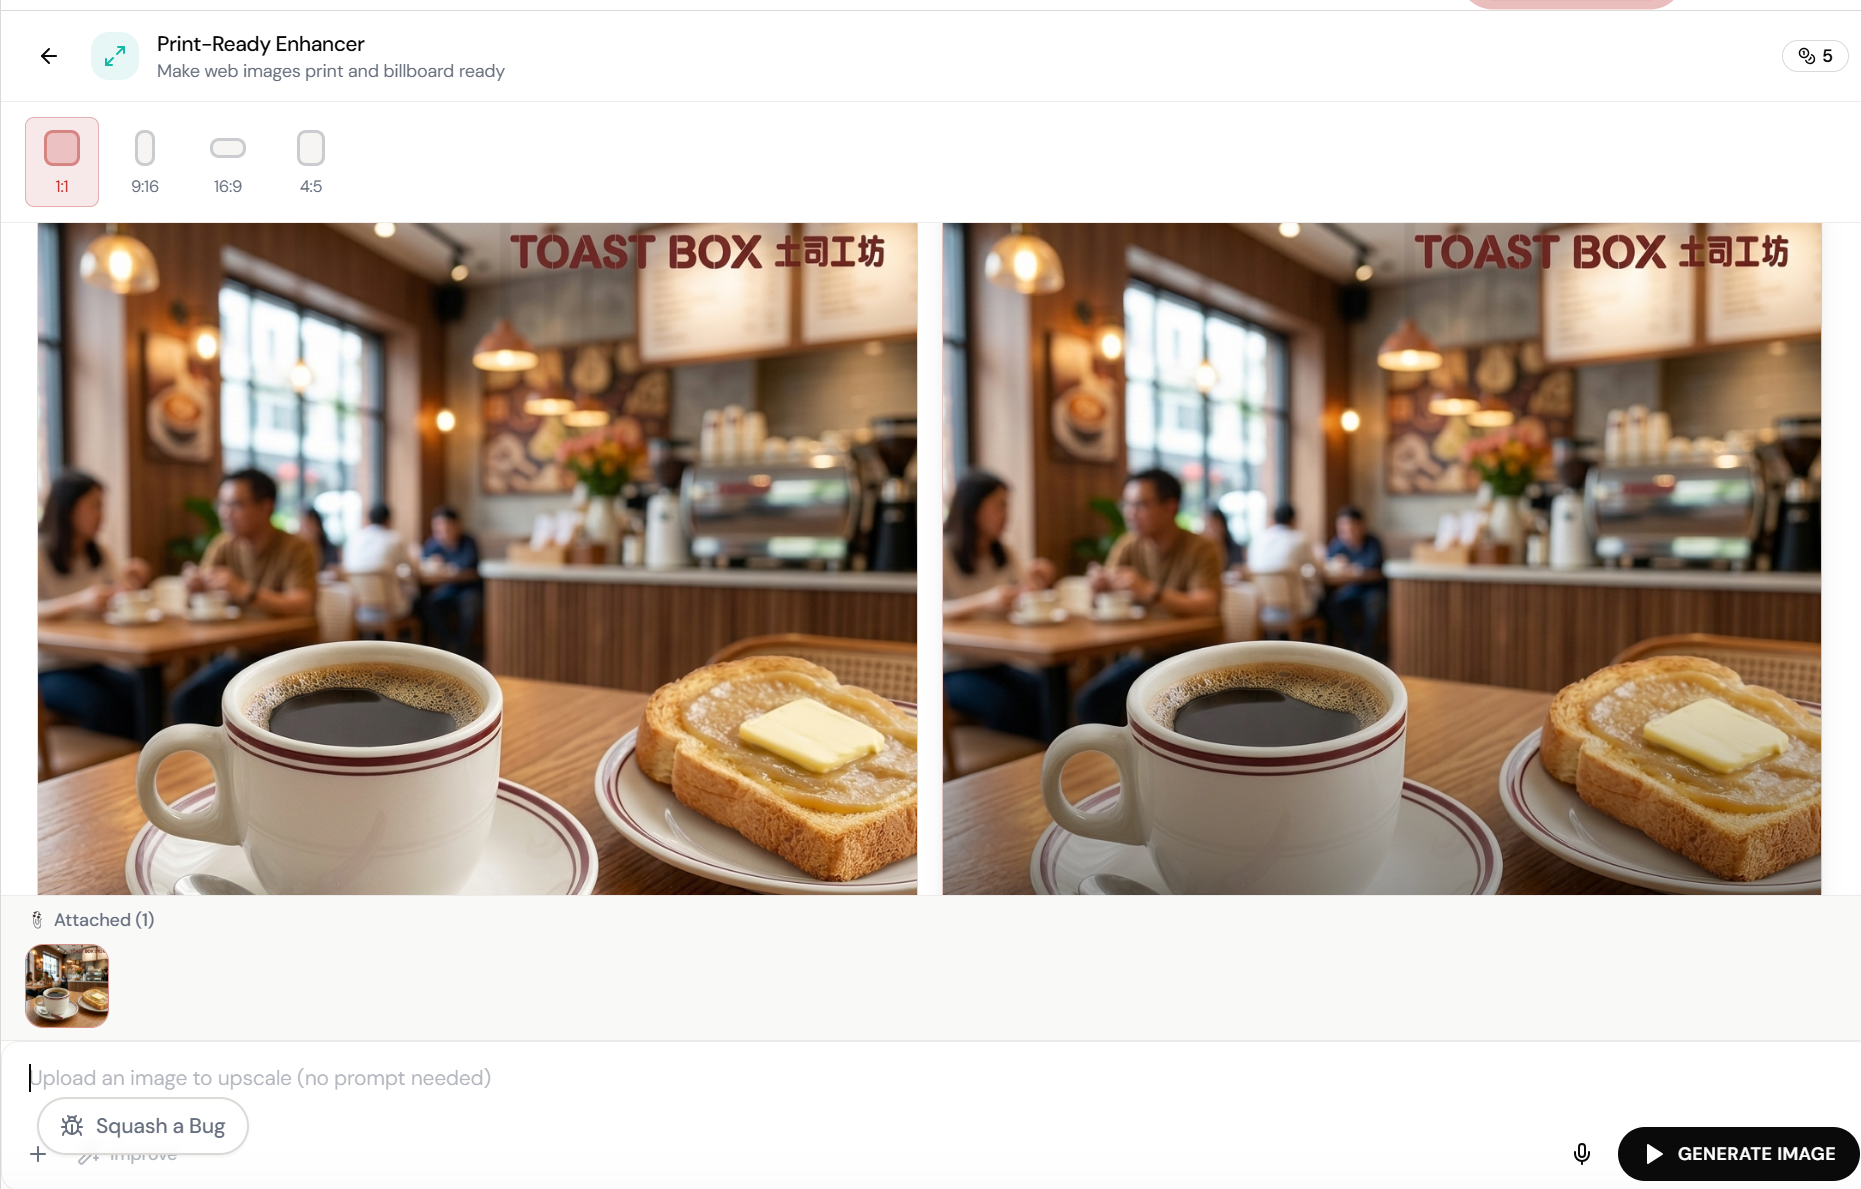
Low-res in. Print-ready out.
The image is upscaled with enhanced detail, sharper edges, and preserved colour accuracy. Ready for billboard, print, or large-format display.
What Actually Changes
Manual. Repetitive. Time-consuming. Every print-ready enhancer task starts from scratch with no context, no memory, and no brand awareness.
One click. Full context. Print-Ready Enhancer handles it — with your brand, your data, your preferences baked in from the start.
Escape the Messy Middle
See how Print-Ready Enhancer transforms your workflow.